The fastest way to get started is requesting a test account for an example database from us. Alternatively, install Epigraf on your own (local) server using the prepared docker setups as described in the developer documentation. Installation should be finished within minutes if you are familiar with Docker.
Create a project
After logging in, open the inscriptions example database by clicking on the top left database button. HEad over to the project list via the main menu. Create a new project using the green button in the page footer. For example, name it "My first project" and give it the short title "mep". All other settings can remain as they are.
Create an article
Open the article table of the project via the green "Show Articles" button in the sidebar. Alternatively, you can also use the main menu. Create a new article using the "Create article" button. Each article has a type that is configured in the database. In the example database, choose the epi-article type and enter an article title such as "My first article". After saving (Ctrl+S), the article should open in a new tab sheet in edit mode. You may need to allow pop-ups in your browser to automatically open articles in new tabs.
Edit the article
The sections of the article are listed in the left sidebar. You can click them to jump to that section.
To edit a specific part of the article, click it:
- Text fields: Focus the input field and start writing! A toolbar appears at the top of the page, which can be used to format and annotate text. Annotations create markup around text segments or insert specific tags, for example to indicate missing text in a transcription. Some annotations are linked to properties; a selection popup opens when you create or click on the annotation.
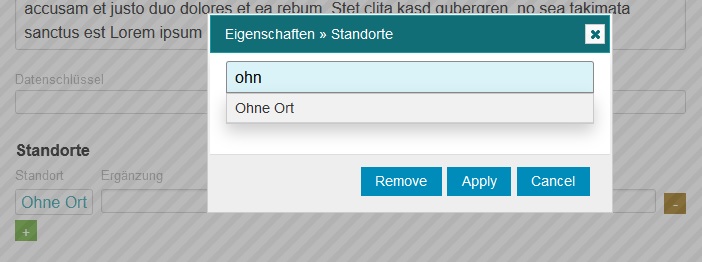
- Selection fields: Properties can be selected in popups (for annotations) or dropdown buttons (see screenshot). This requires that the corresponding properties or vocabularies have been created (see below), for example a list of languages or locations. There are two ways to make a selection: (a) Clear the field and press the arrow down key to select an option. (b) Enter a search term into the field and the cursor jumps to the first property starting with the term. Then click on the entry and confirm with the Apply button. It is quicker to use the keyboard: press Enter twice to accept the selection. The Remove button removes the selected property from the article section or annotation.
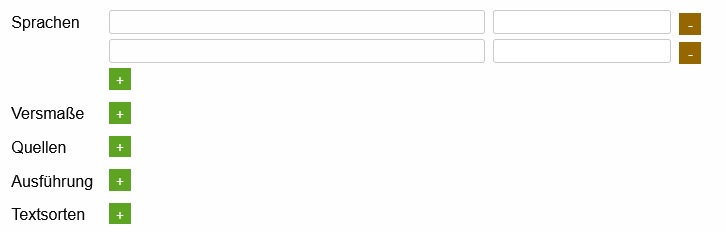
In some sections, additional items can be added or existing items removed – for example, to include multiple languages or text types into the article. Try out the plus and minus buttons (see screenshot)!
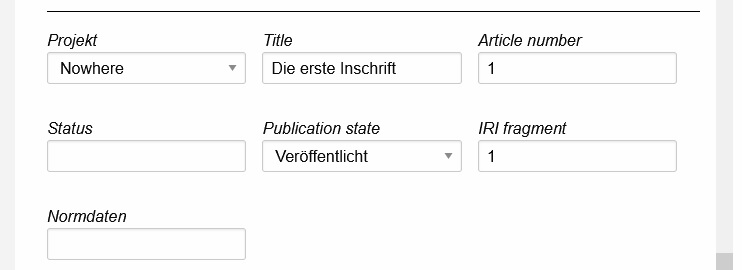
Some basic metadata of the article – in particular the title, number and project selection – can be found at the very bottom of the page, below all sections.
Now, enter something into the description field of the article, for example "Stars are the suns of foreign worlds". You can also explore other editing features.
Click Save (Ctrl+S) in the footer to save the article, followed by Close (Ctrl+Q) to exit edit mode.
Export article
In the footer of an article you will find an Export button. You can use the default data pipeline or a pipeline specifically constructed for the current database. If you are working in the example inscription database, try out the DI-Artikel pipeline to create a Word document. For getting started, leave the settings as they are and enjoy your wonderful first article crafted using Epigraf.